Using IntelliJ IDEA
IntelliJ IDEA is the most-used IDE for Java development. It’s also available for ARM devices but has high minimum requirements, so it’s not a good fit to use on a Raspberry Pi:
- 4 vCPUs, either x86_64 or arm64 architecture. Also, higher clock frequency is preferred to higher core count.
- 8 GB RAM.
- Not supported: Single-board computers such as Raspberry Pi. To run your code on a Raspberry Pi, check out remote interpreters or remote debugging, and similar features.
Remote Development with IntelliJ IDEA
You can use IntelliJ IDEA to develop on a remote machine (Windows, Linux, or macOS) with code on the Raspberry Pi. Make sure you have the Remote Development Gateway plugin enabled as described on Connect to a remote server from IntelliJ IDEA and Install JetBrains Gateway.
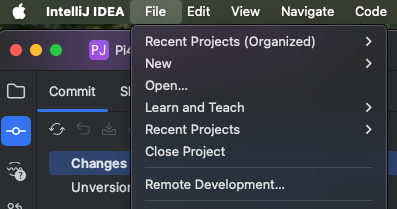
- Go to “File” > “Remote Development”.
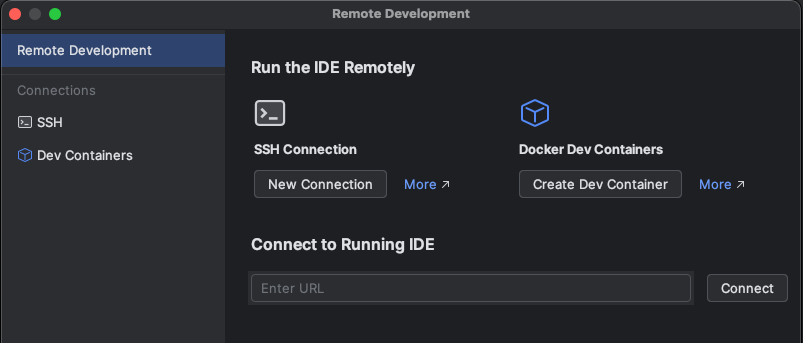
- Click “SSH Connection” > “New Connection”.
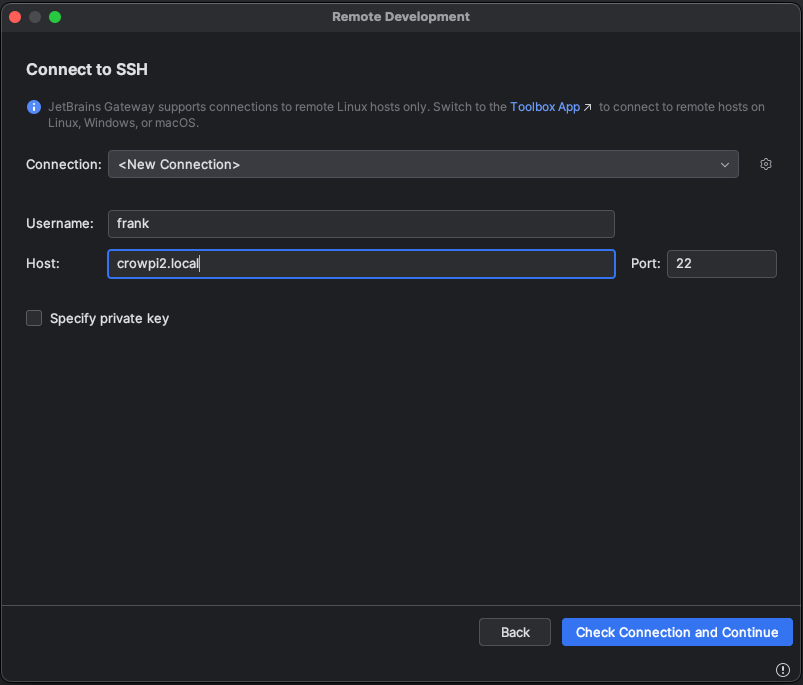
- Fill in the username and hostname of your Raspberry Pi and click “Check Connection and Continue”.
- Select the directory with the sources you want to edit.
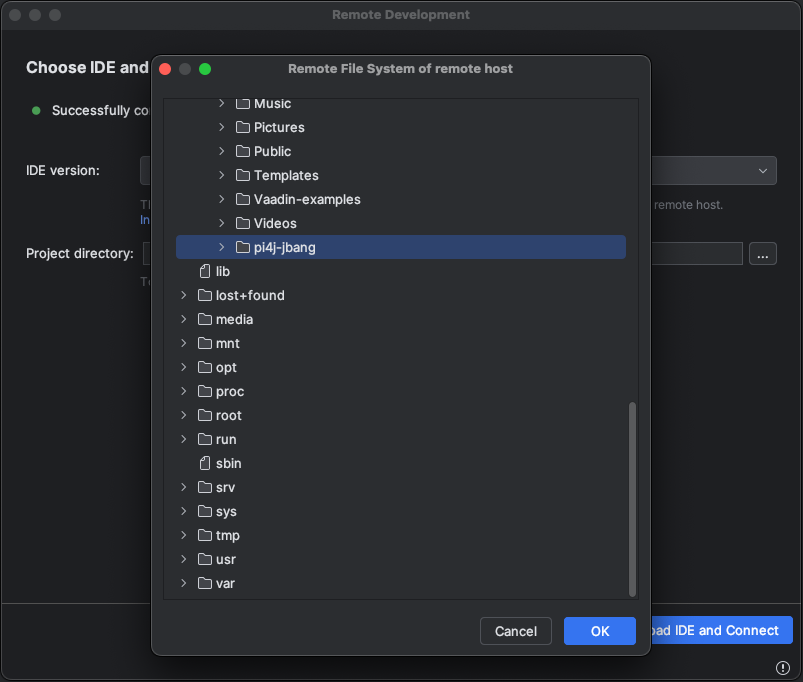
- Check the IDE version and directory and click “Download IDE and Connect”

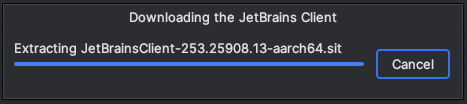
- Wait till the IDE Gateway is downloaded and installed.
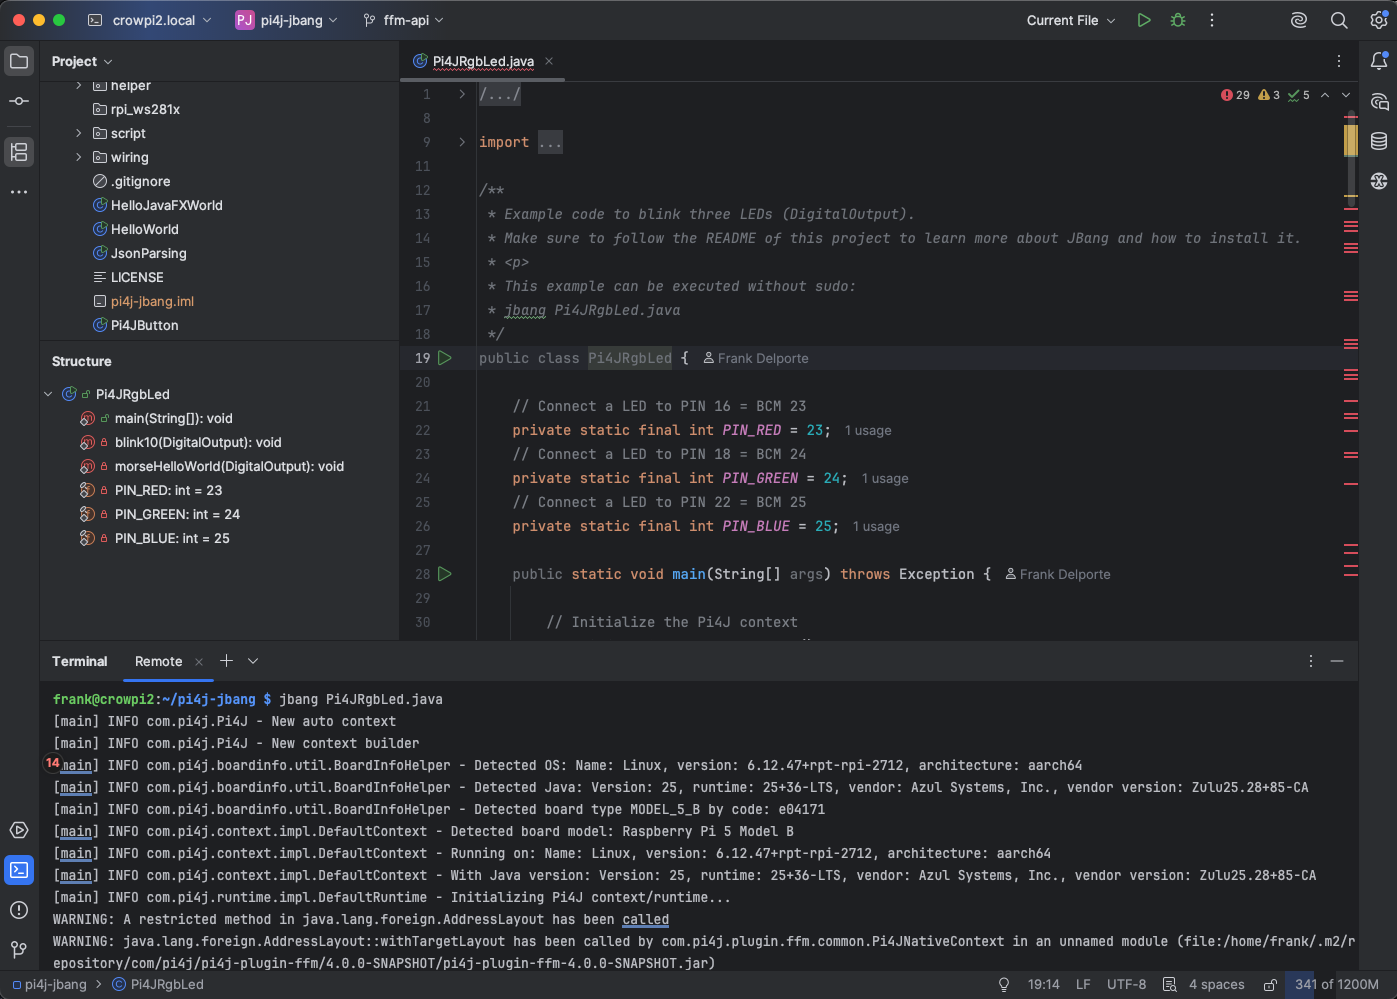
- You can now from your PC work with the code located on the Raspberry Pi and run commands in the terminal.